
Top 5 Photography Travel Essentials
Planning a trip to far-flung exotic places is an exciting time and a chance to recharge your creativity. To get the most out of it though and protect your gear you’ll need the right equipment. You might think your current camera bag and tripod aren’t that hard to bring around but wait until you’re in the sweltering heat of the tropics or pushing your bag through airport security. Not having the essential gear will also mean missing out on great photo opportunities which can be heartbreaking.
To make sure your trip goes smoothly and you get the most out of your photography here are five photography essentials you don’t want to miss out on.
Get the right camera bag

When travelling overseas you’ll need the right bag for protecting your gear against the elements and thieves. The perfect camera bag also needs to be light and easy to carry. Airlines have strict regulations on the weight of carry-on baggage and you don’t want to be lugging around a heavy pack that is difficult to open when exploring a new city. It needs to be easy to slip on and off, allow you to switch lenses without effort while still being large
enough to carry your essential gear.
The one I recommend is the Crumpler 7 Million Dollar Home. It’s just large enough to carry my Sony A72 along with my wide angle, telephoto and prime lens. The zipper top holds my cleaning cloth and extra cards. The front pouch allows me to store my phone, wallet and
notepad. All protected with a Velcro patch and thick cover over the front.
Find a lightweight carbon fibre tripod
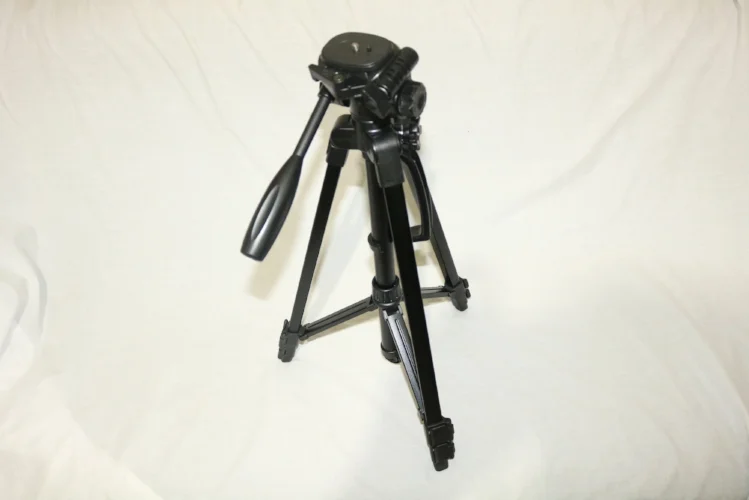
Other travellers think we’re nuts but a good photographer knows they can’t do without a trusty tripod. For those twilight shots, night skies and HDR moments you’ll need a tripod that is both steady, durable and easy to carry around. How good of a one depends on your budget but if you can afford it make it a carbon fibre tripod.
Carbon fibre is a good choice as its both lightweight and highly durable. For ease of use, get one with clip on legs rather than a screw in mechanism. It should fold up nicely so it can be stored in your backpack without taking up much space.
A spare battery

If you only shoot around your home area the single battery that came with your camera will usually suffice. But when travelling you won’t have as many opportunities to charge up. You can get so excited taking shots of a foreign city that you forget about your battery, then when that double rainbow with an eagle catching a fish in the centre appears your camera goes dead.
Unlikely photo opportunities aside, it still sucks when your battery goes out or not being able to use your camera when it’s charging. Invest in a good battery and battery grip, trust me those cheap second-rate ones will start dying after a few months.
The right lens set

Ok fine, technically this is three items. You want to travel light but you also want the right set of lenses to cover most photographic needs. From my own experience, I've found there are three lenses you shouldn't do without, a wide angle, a telephoto and a prime lens. Regardless of what you normally shoot back home, you'll find an abundance of different photo opportunity on a big trip, all calling for different lenses.
Landscape, street, portrait, food and lifestyle make up what’s generally called ‘travel photography.’ I’ve found the main three are enough to cover all these while still being easy to carry around and change on the go. My Sigma 10-20mm has been invaluable for landscape and city photography, my 50mm prime is perfect for portraits and street shots, and my 24-70mm telephoto covers everything else in between.
Lens hood and filters

Lens hoods aren’t just good for preventing lens flare, they also help protect your lens from bumps or sudden trips in busy tourist areas. If you don’t already have one for each lens it’s well worth ordering them. They’re practically weightless and can be easily slipped on and off
when you need to add filters.
Filters also provide another protective layer from sudden falls. You should have UV filters installed all the time on each lens, not so much for the UV protection but to provide that extra safety layer. Polarisers are great for saturating the colours more and removing water reflections. If you’re planning to take slow exposure shots of waterfalls or moving crowds in the daytime, pack long an ND filter for those moments.
Lastly, don’t forget to bring a cleaning kit, spare cards and an adaptor. With this kit, you’ll be ready to tackily almost any photo challenge ahead. Good luck and happy travels!
Author bio: Ralf works as a photographer at Photopiebackdrops.com. He is an adventurous
guy who loves to travel and explore different places. He is also a blogger and writer who contributes articles to various photography blogs. You can follow him on Flickr and Twitter.